Shopify Installation
This guide will lead you through the process of setting up EBANX as a payment gateway on your Shopify store, providing step-by-step instructions to configure EBANX, add supported payment methods, and test your setup. By following this guide, you’ll be able to offer a secure, localized payment experience that caters to your customers’ preferences, all within Shopify’s platform.
Requirements
- API credentials - Ensure you have your EBANX integration key. If not, complete the Merchant Signup Form.
Instructions
Follow the steps below to setup EBANX as your payment provider on Shopify.
Get your Integration Key
To install the EBANX Payment App, you’ll need your integration key, located in the Settings > Integrations section of the EBANX dashboard.

Install EBANX Payment App
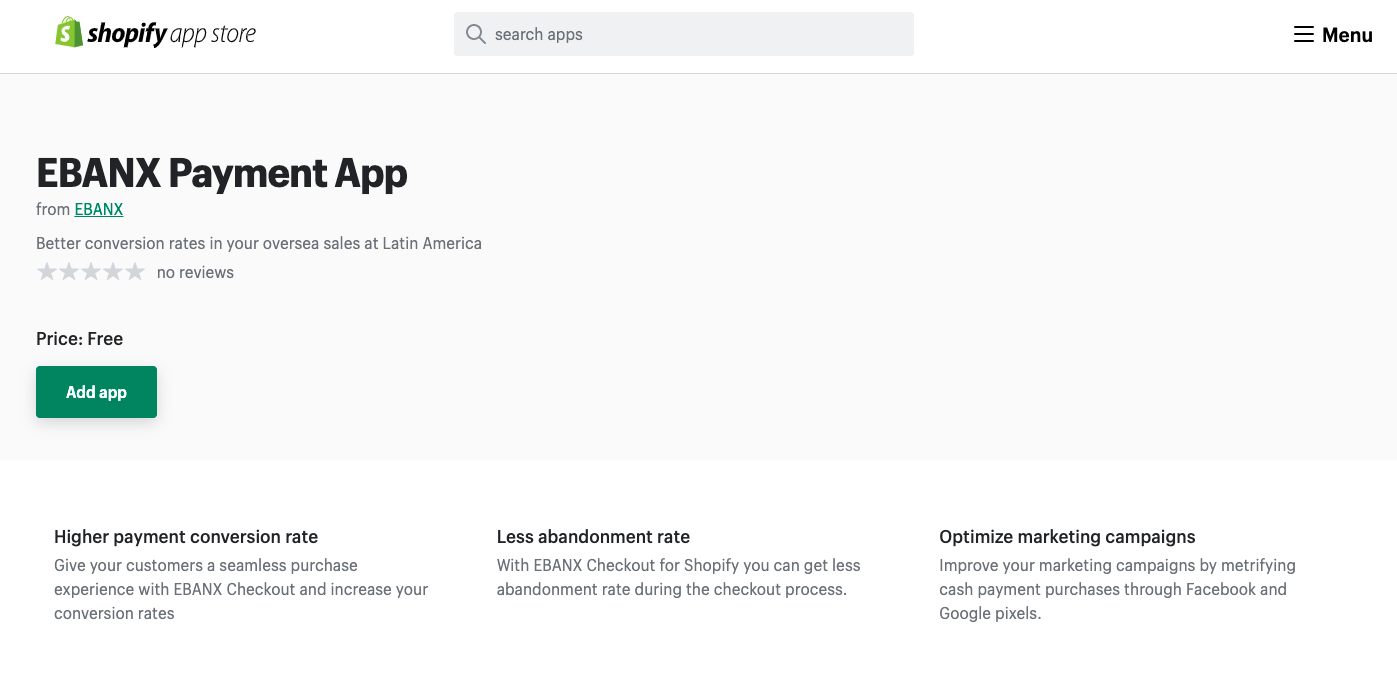
On the EBANX Payment App page, click "Add app" to integrate it with your store.
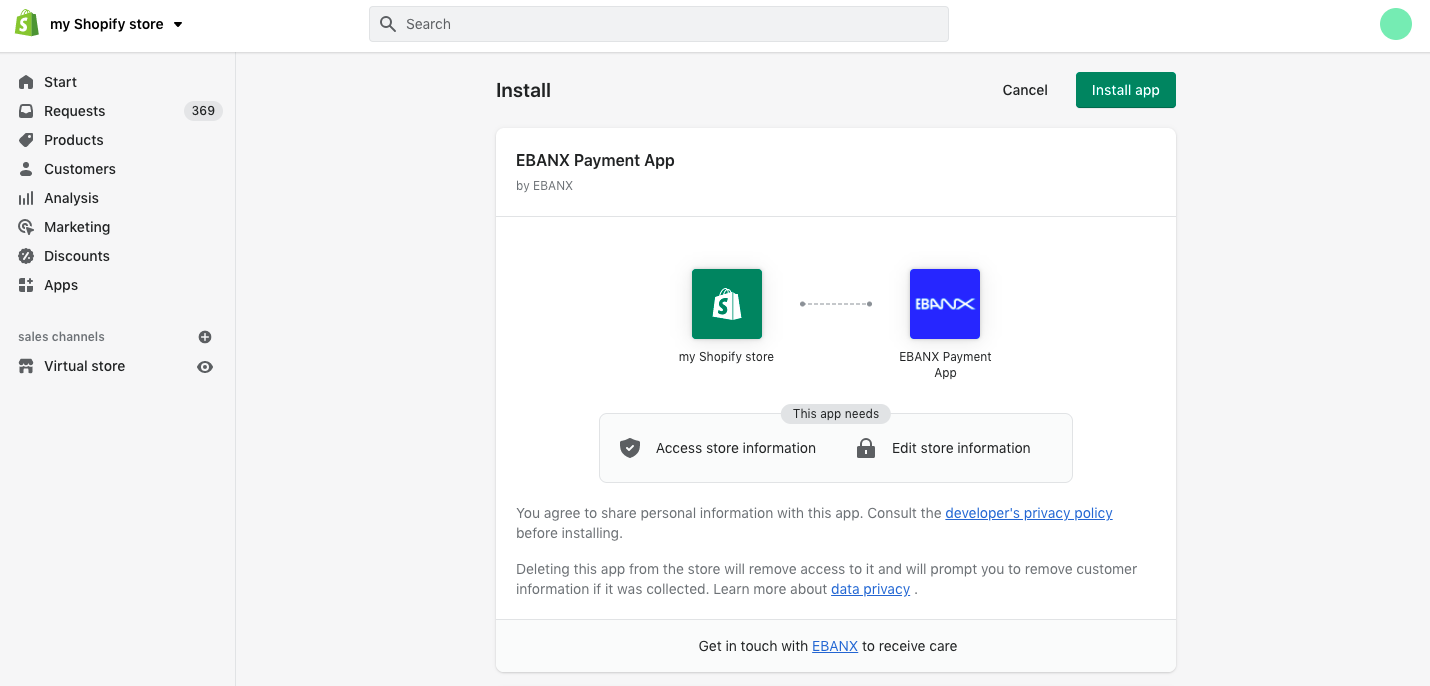
You’ll be redirected to your Shopify admin panel. Click "Install app" to continue.
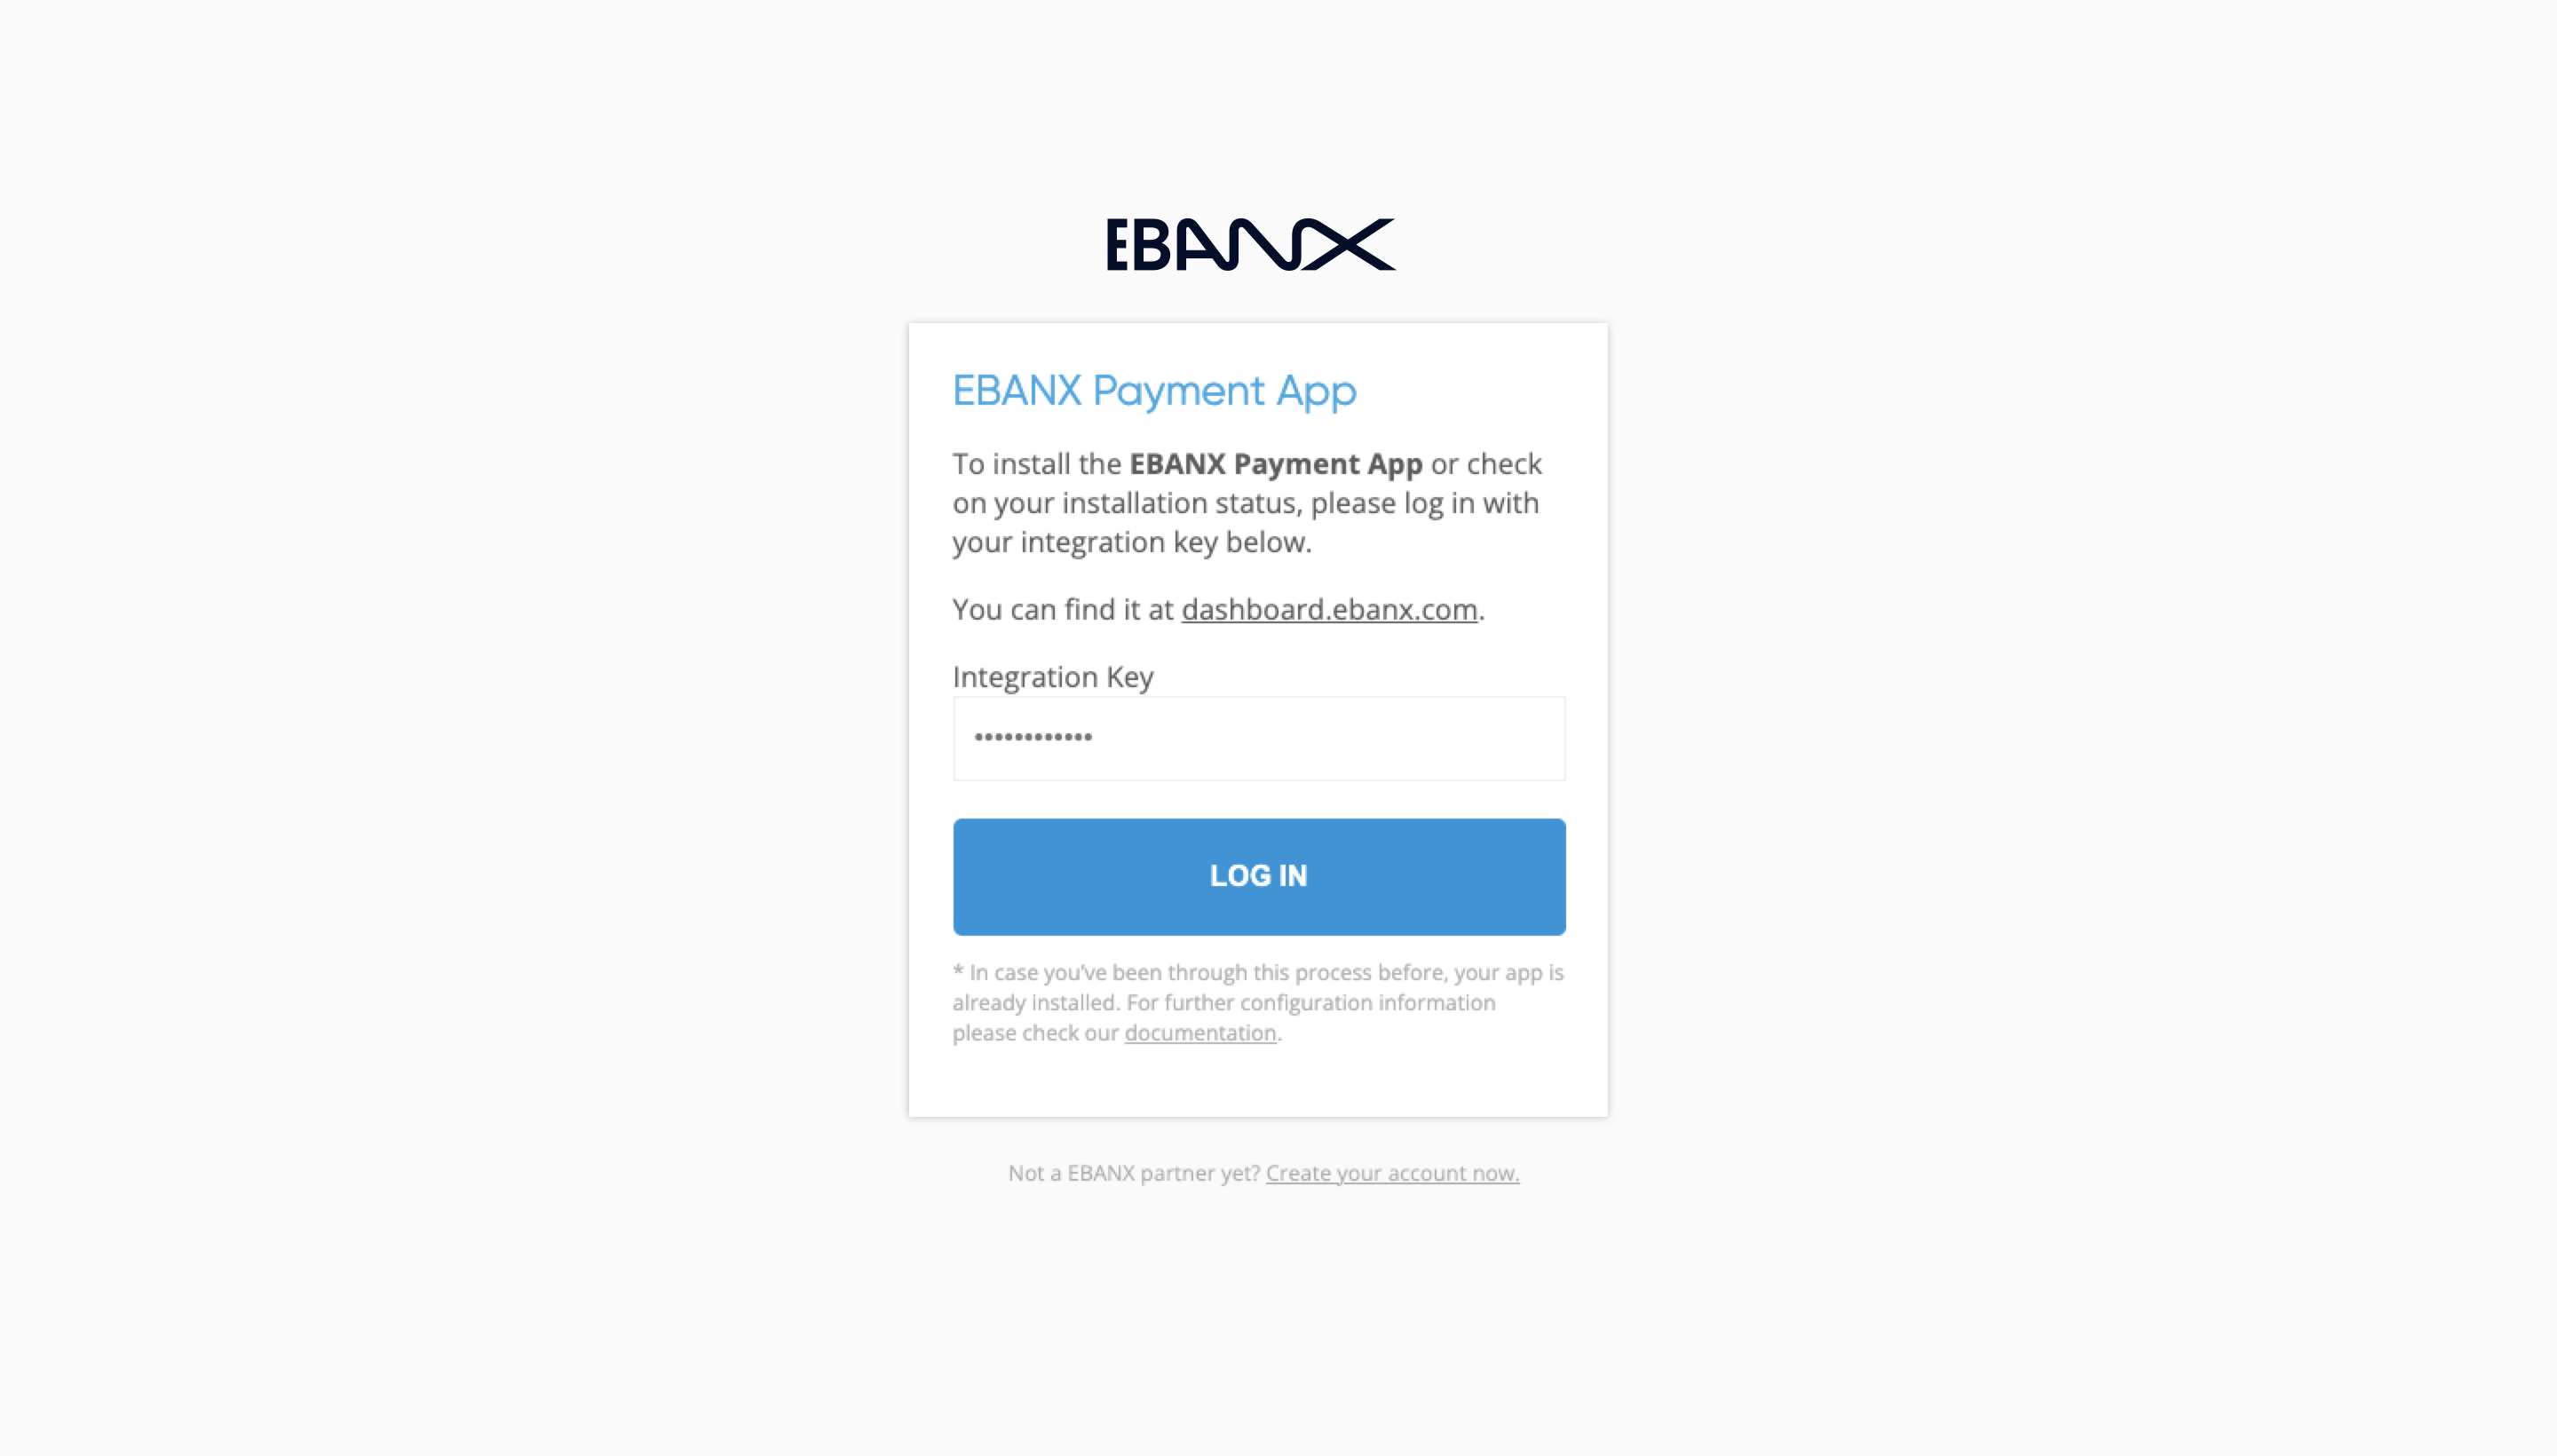
On the EBANX Payment App screen, enter your Integration Key and click "Log In".
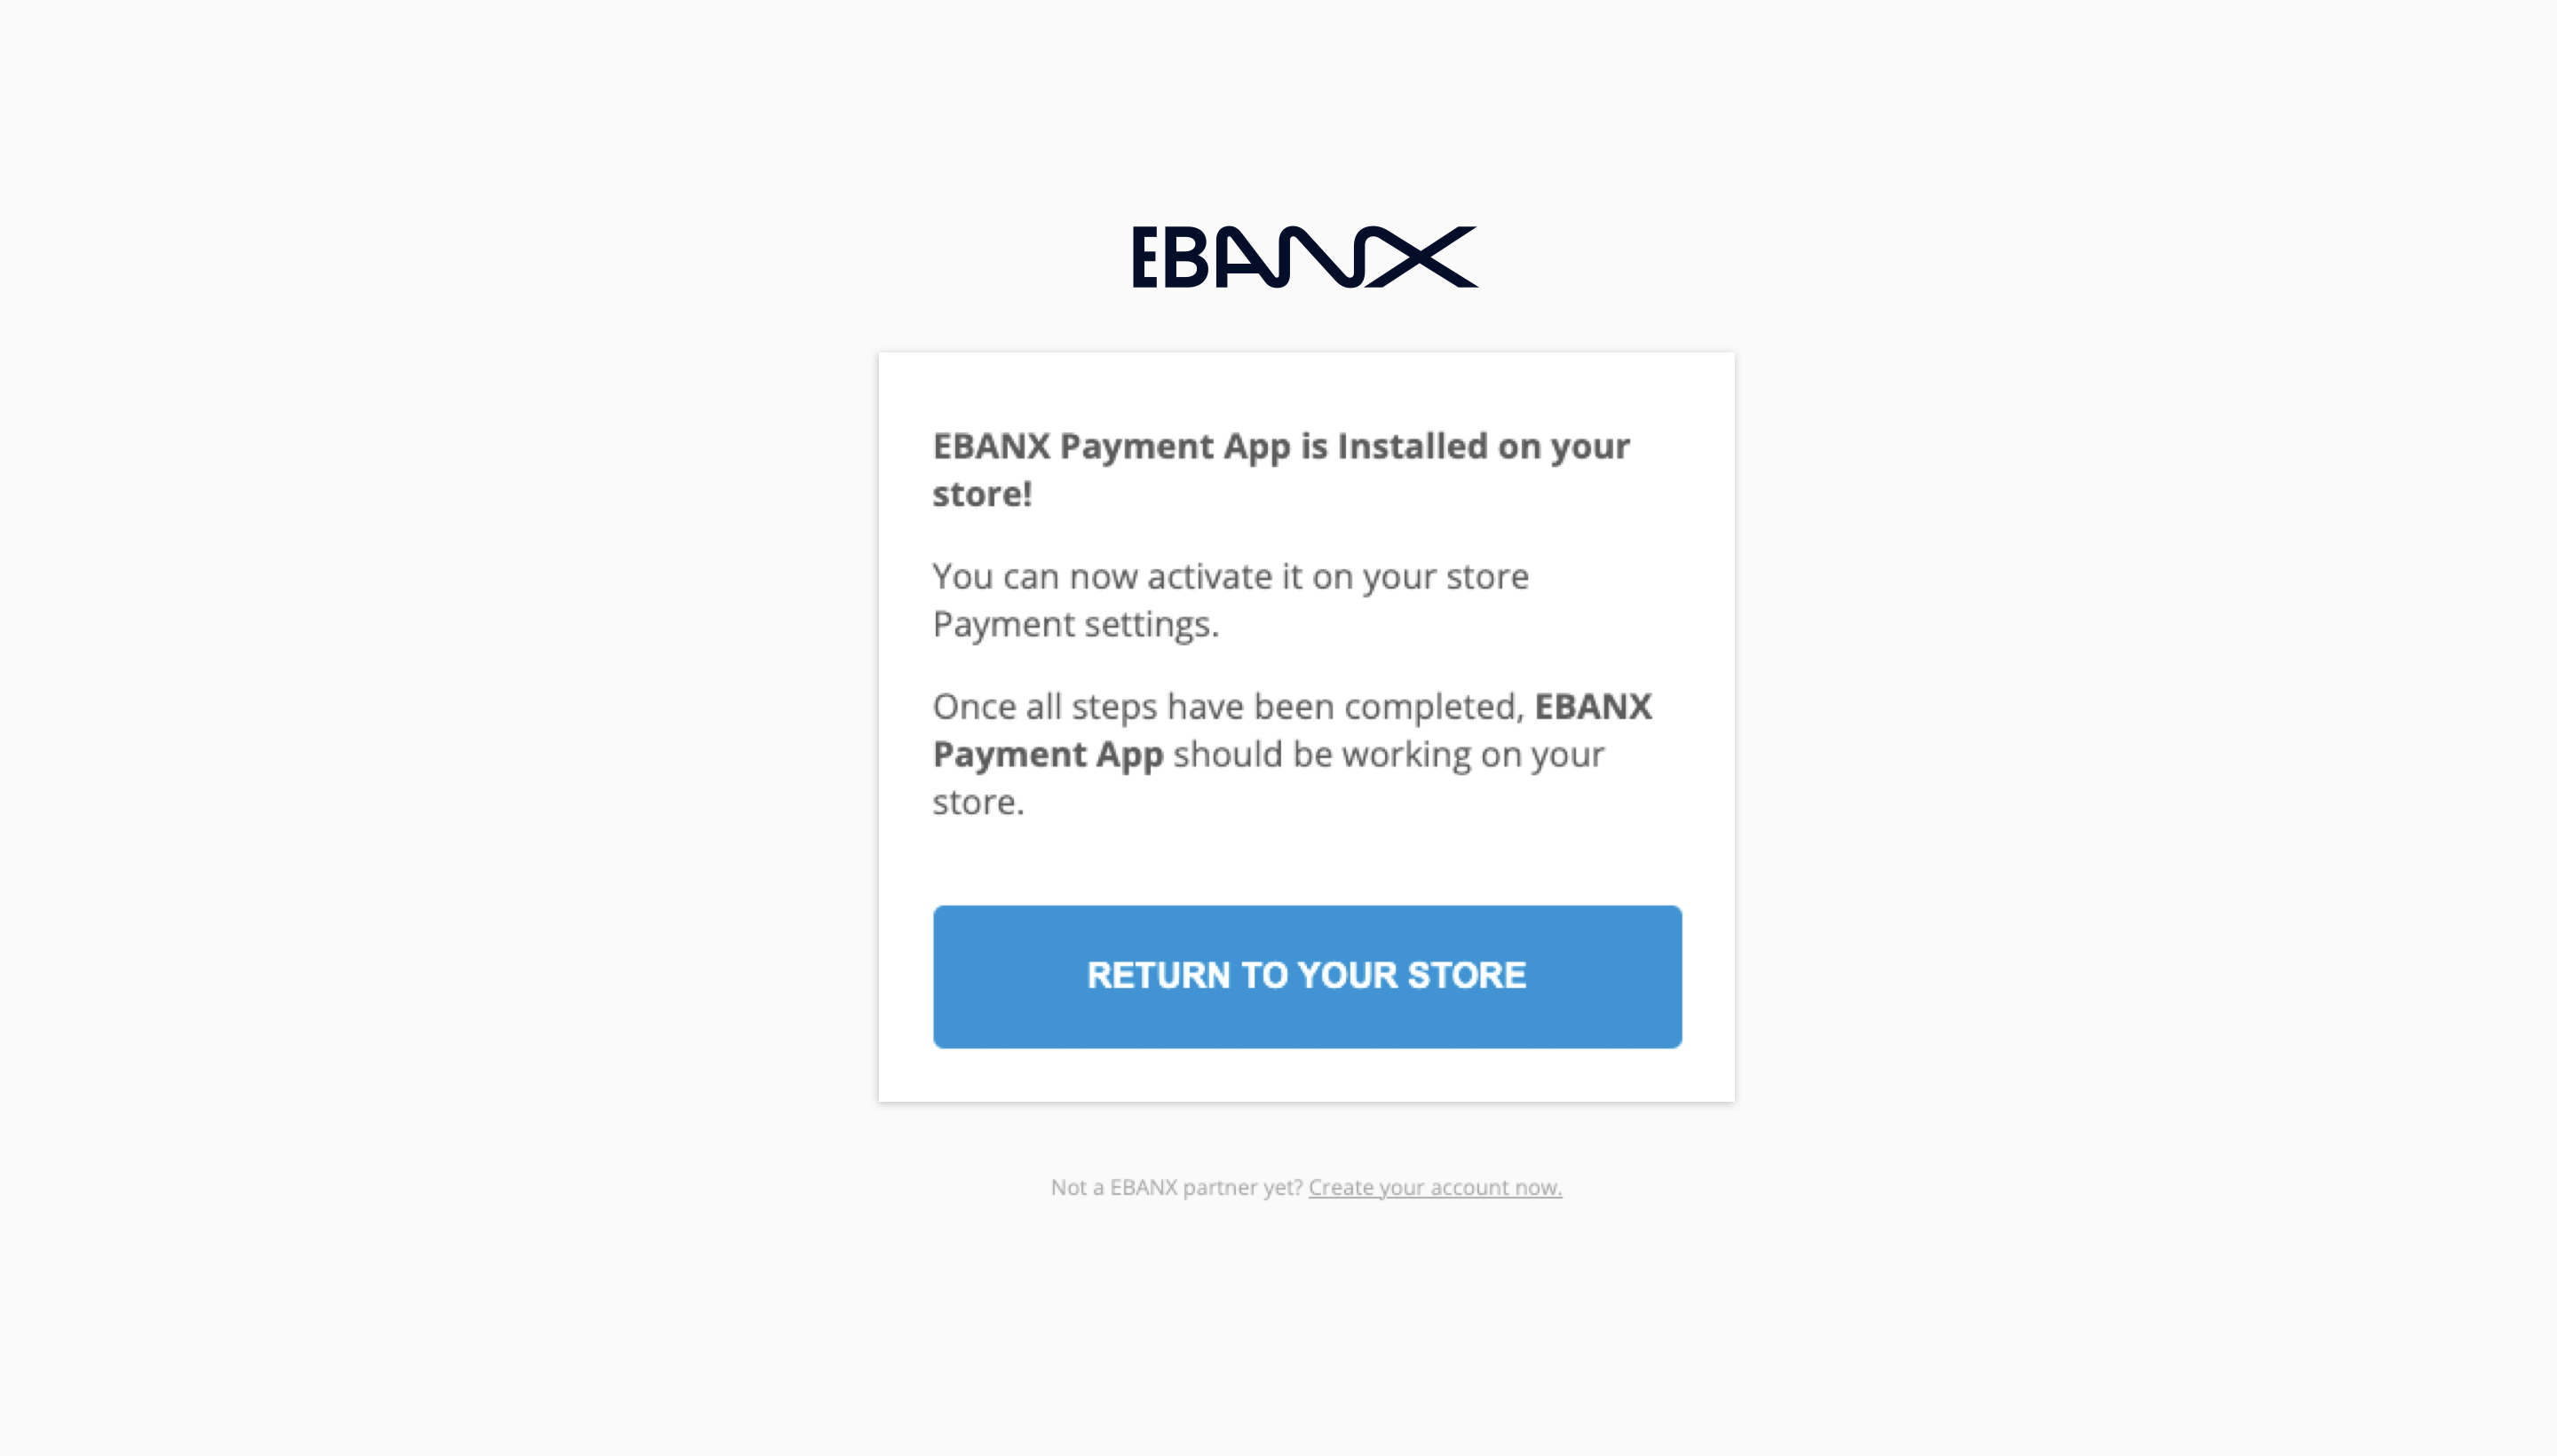
Once installation is confirmed, click "Return to your store" to be redirected to the EBANX Payment app settings in your Shopify admin panel.
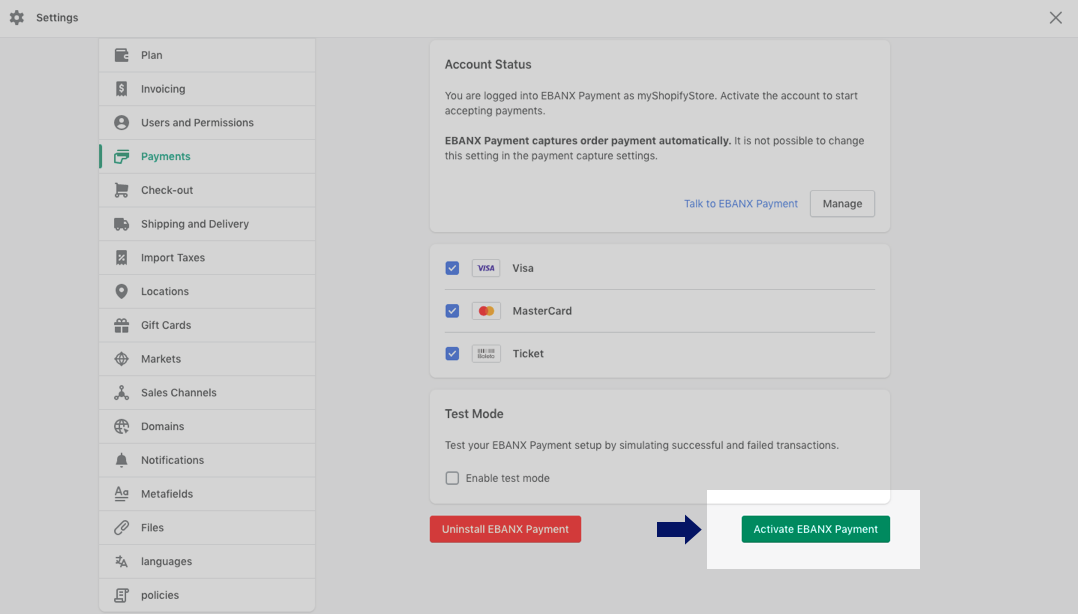
To access your EBANX Payment App settings, navigate to Settings > Payments > Accepted Payment Methods and click Manage next to your EBANX Payment app.
To activate the EBANX Payment App on your store, click "Activate EBANX Payment App".
Set up Form Options
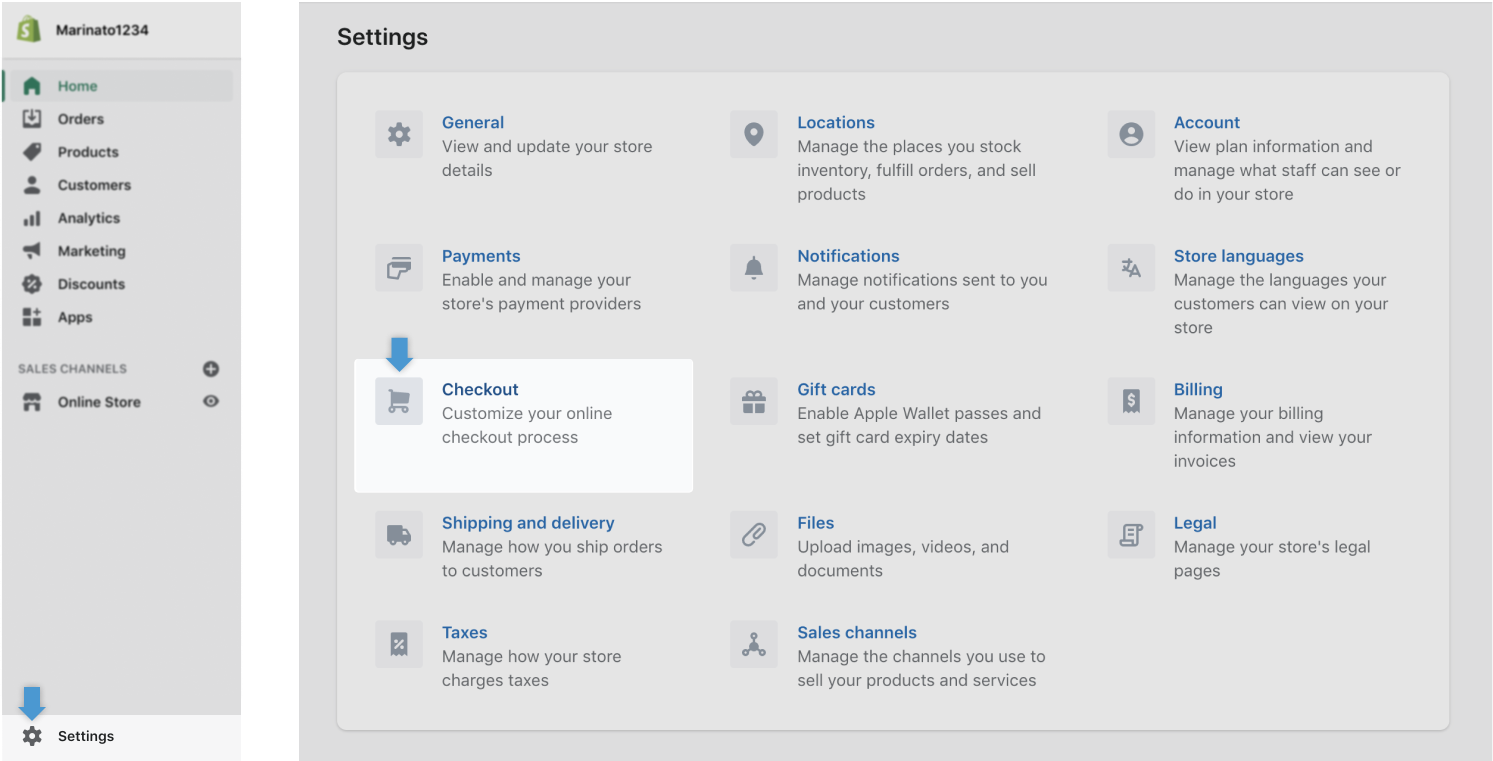
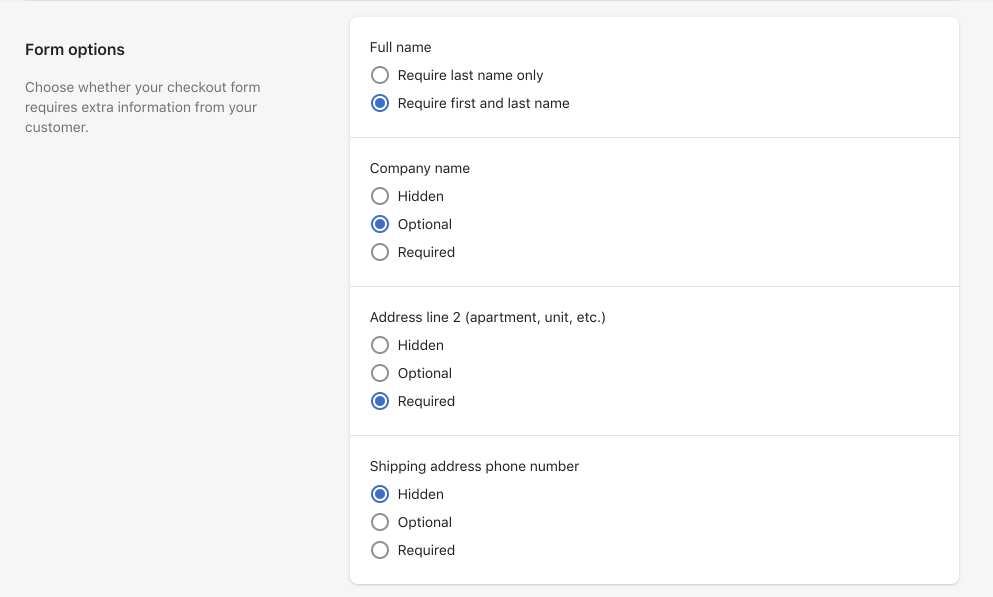
Click on Settings again, then select Checkout. Adjust your Form options as shown in the image below, and click Save.
Brazil physical goods setup
This step is required for Brazil. If this option is unavailable in your Shopify store, no further action is needed.
Since January 2020, Brazilian Tax Authorities require all imported packages to include the customer’s identification number (CPF or CNPJ). To ensure proper delivery for orders shipping to Brazil, please complete this final step.
If the Enable CPF/CNPJ field option is already checked in your store, please uncheck it. Don’t worry—CPF/CNPJ will still be requested as usual during checkout.
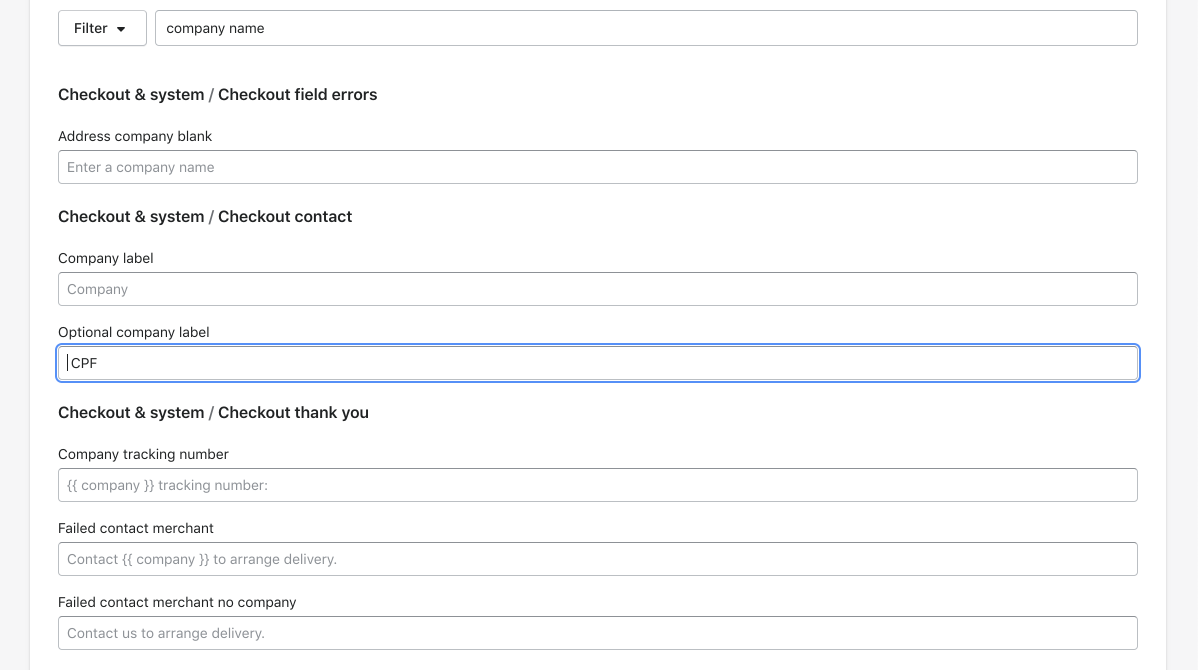
Remain on the same page (Settings > Checkout), scroll to the bottom, and select Manage Checkout Language under Checkout Language configuration.

Change the Optional company label field to CPF and save this page.
Test your integration
Lastly, access your store and go through a regular purchase flow to confirm that the payment gateways you’ve just installed are appearing as options at checkout.
Congratulations!
You have succesfully integrated Shopify.
Resources
Use the following resources when testing in your sandbox environment.

Sample Cards
Click here to view mock card data to validate your payment integration.

API Reference
Click here to access detailed API documentation to integrate efficiently.

Mock Customer Data
Click here to view mock customer data for testing and validating user flows.

Error Codes
Click here to review common error codes to troubleshoot and resolve issues quickly.
Still need help?

We hope this article was helpful. If you still have questions, you can explore the following options:
- Merchant support: Contact our support team at sales.engineering@ebanx.com for assistance.
- Not a partner yet? Please complete the Merchant Signup Form, and our commercial team will reach out to you.